This article may contain some things that you might have a tough time hearing if you are experiencing difficulties selling products with your photography. Why do some photographers sell, and some do not? Let’s talk about it.

The basics

The Canon 5dMKIV, a pro level DSLR camera outputs images at around 6700 X 4400 pixels. There are cameras which are many times that resolution, but I will use the 5dIV for this example because it is considered an industry standard in terms of image quality output. As a point of interest, the lower end prosumer model Canon T7i outputs around 6000 X 4000 pixels and is a very capable camera at a fraction of the price. I will not get into he differences between the two cameras because one is full frame and the other is APS-C, rather I will just stick to the output resolution because those dimensions directly correspond to the products you can put your image on in the Redbubble (and other PoD services like Teespring, Teepublic, Spreadshirt and the like.) interface.

Aim to the Duvet

The printable area for the king size Duvet needs a file with dimensions equal to 7632 x 6480 pixels at 300 dots per inch, and a file of this size is compatible with most of the other products available on Redbubble. If you aim toward the largest size needed, most other products will work. The problem with using an image from a camera is that you are under the file size needed for some of the cooler  products. So how do I get a useable file for a Duvet out of an image off my camera?

Let’s process this

If you are shooting on a smartphone, and then uploading to Redbubble, the quality is just not going to be there. I am all about the camera you have is the best one adage, but the quality of the images that are output from a smartphone are (in mast cases) not going to stand up to printing on a very large format like the King Duvet. Even with some of the larger pixel smartphones coming out, the fact is that the sensor in the smartphones is so small that the quality does not stand up to larger printing formats. We shall see what the quality of the new cameras offers, as I type this a new Samsung is slated to hit the market soon which may change the opinions.

How you process your images is also important, in many cases the horizontal edge can be upscaled a bit and will fit on one edge of the Duvet, but then there is space that is not filled with your image, what do you do about that? A solid color? This can b done in the Redbubble interface. The other option is to upscale the image so that the short side of the image meets the 6480 resolution requirement. The net result of this will be a cropped image from your original, so be sure to shoot for the crop you need for your final image.

The method you use to upscale your image is also important. Not all algorithms are created equal, and I have found that the output from free software packages like GIMP tend to leave images blurry. The good news about this is that you are printing on fabric in most cases, so a blurry image is going to matter more on prints and coffee mugs. A better option is to subscribe to Photoshop or buy a dedicated resizing program or plugin. Adobe recently announced a new feature called super resolution which can upscale an image four times it’s original size with little quality loss. The photoshop bundle costs 10 bucks a month, if you are a photographer, I can’t imagine why you would not take advantage of this amazing price.

 So, if your technical photography game is on point, and you still aren’t selling products with your images, what are you doing wrong?

Amateur hour

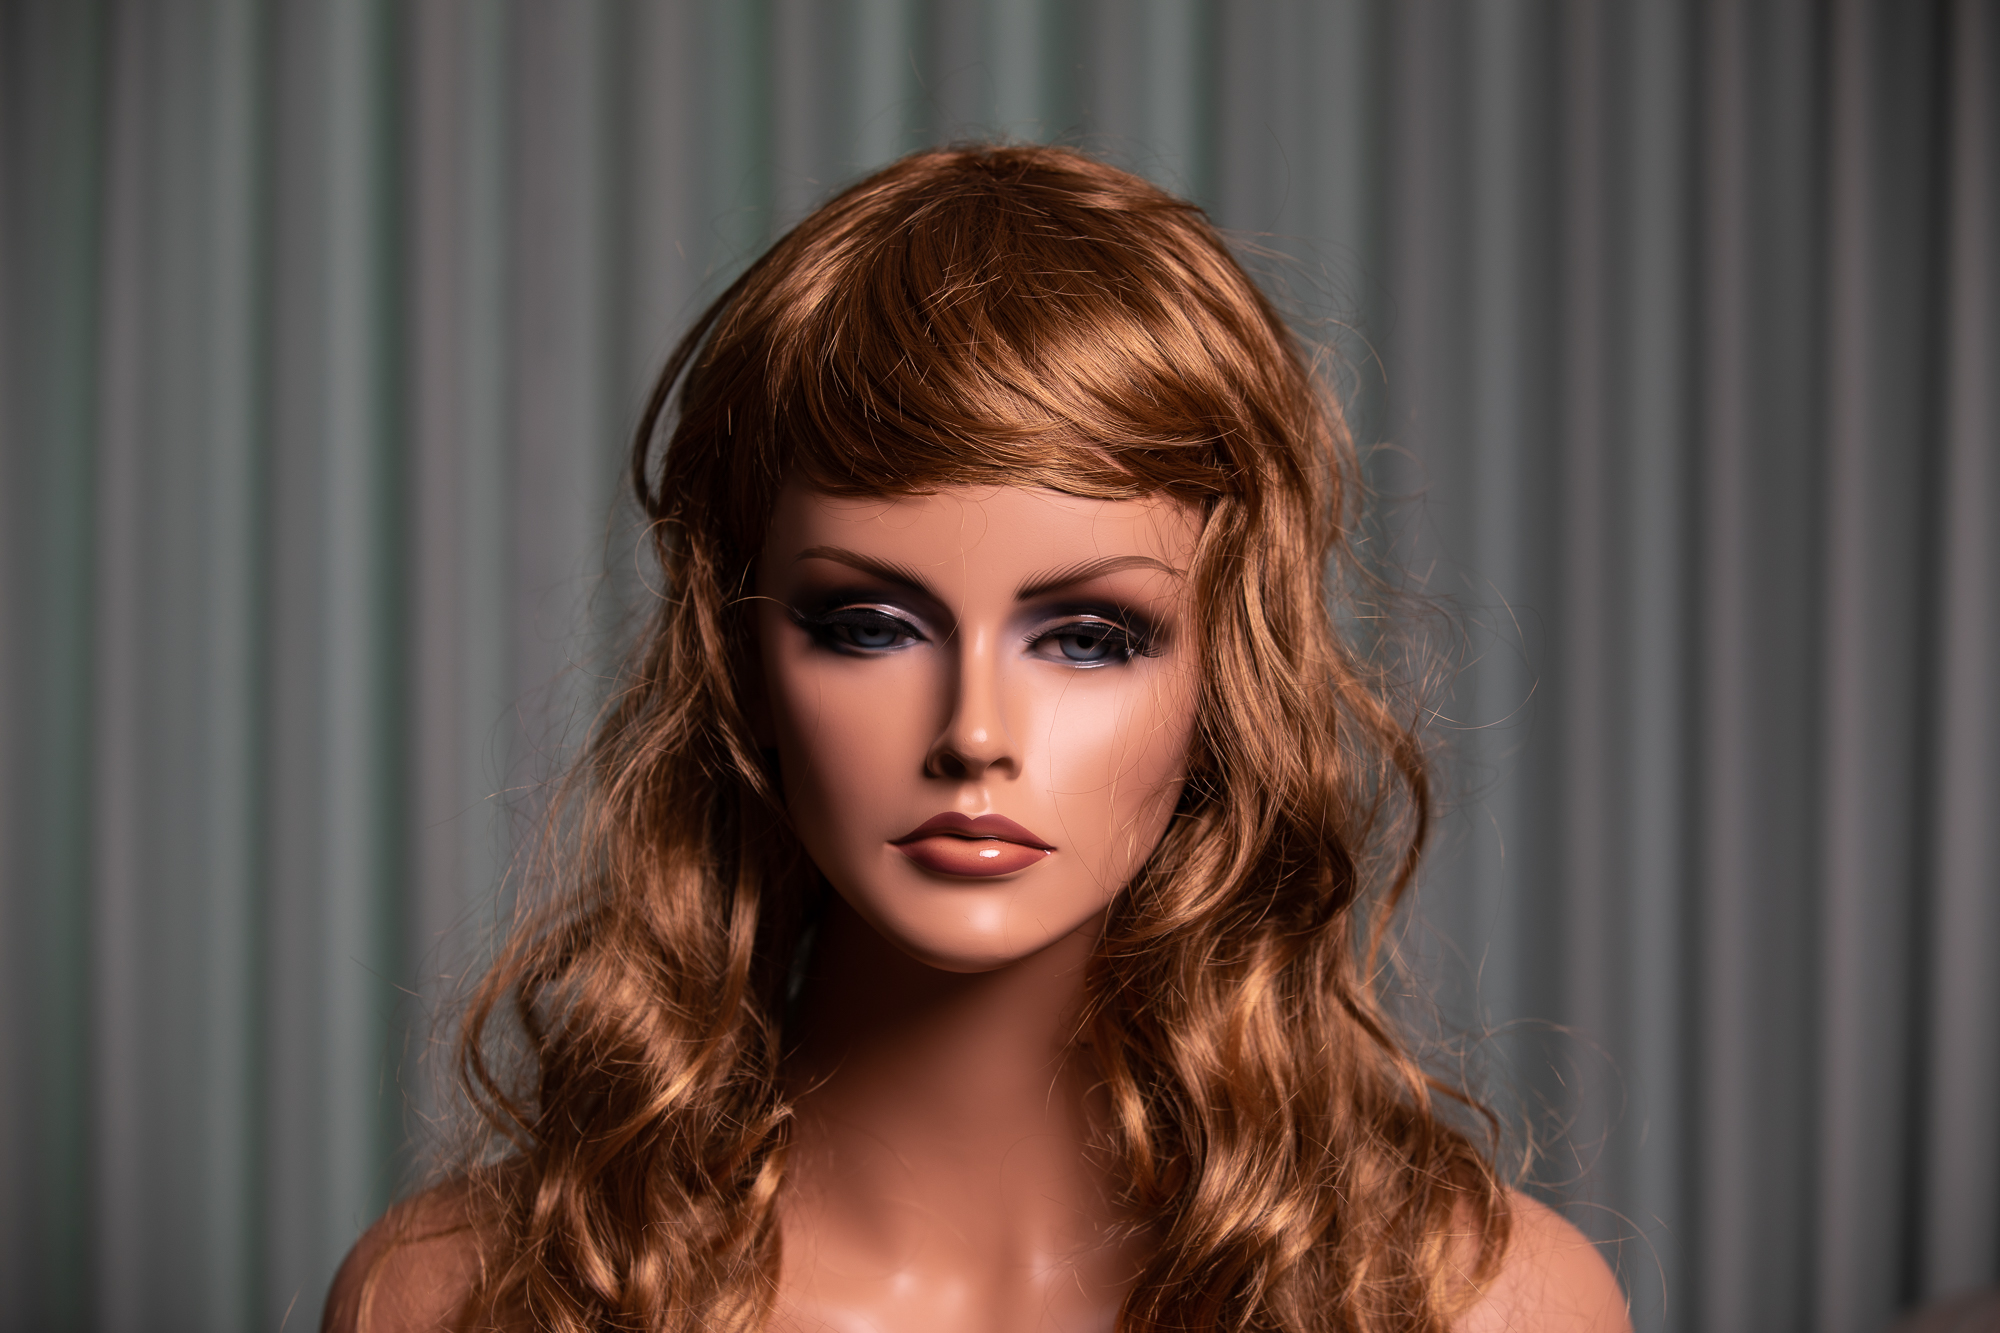
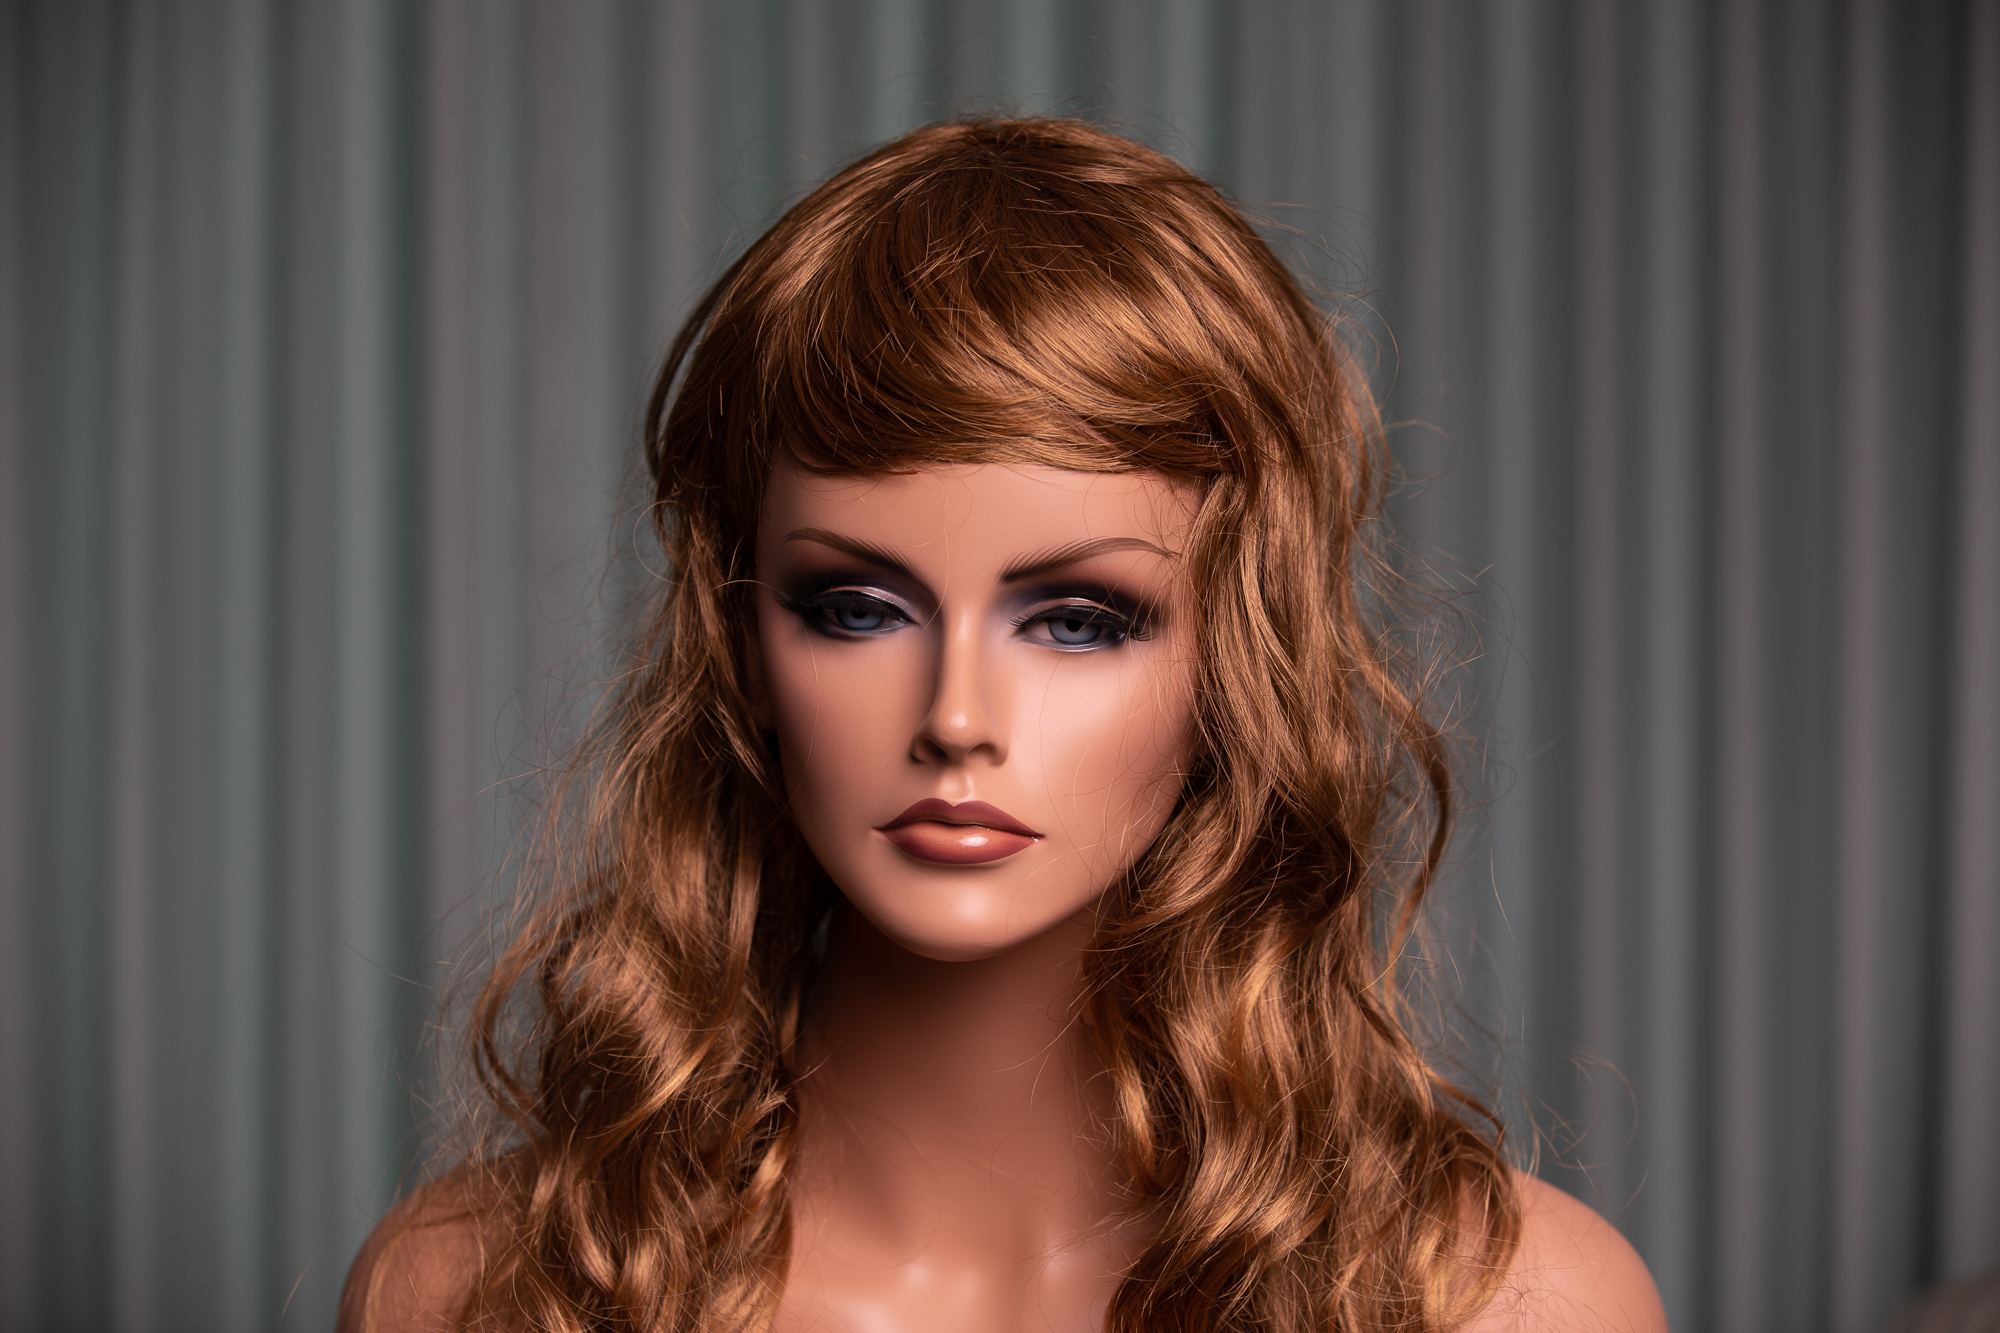
The internet is a fickle place, and good photography is available everywhere. This means that if your image quality is not in the very good to great level of quality then your stuff isn’t going to sell. Not to bury the lead here, but this is the most common problem I see when I consult with Redbubble sellers who are struggling to get consistent sales with photo products. This can be very tough to hear, especially when everyone you know is telling you how amazing your photography is. You might have an amazing image of a beach that is just not selling even though it looks great to you. What you need to assess is whether the image is great because it means something to you – like memories of a great beach vacation or if it is technically great. When you look at your image, you remember the fond times on the beach and the margaritas you had and how warm the water was. When I look at your image, I see a shot of a beach that I may have seen a million times before, and it was likely shot at midday. The sun is probably harsh, and the sky is boring, making the image overall lifeless. The easiest way to fail at Redbubble with photography is to upload snapshots instead of art. To be frank, nobody cares to hang an image of your girlfriend on the beach in her bikini, or an image of your car shot on the street in midday.

Boring presentation

The other big way I see designers struggle is with the way they put the images on the products for Redbubble and other print on demand sites. There is nothing more boring than plopping an image on a shirt and calling it a day. Even if it is an amazing photo, if you do not add text or some other design elements to the design they generally don’t sell well. See? Tough love here in this article. So, how do you get better and make images that are quality enough to sell?

Practice!

Getting better at photography is just like getting better at any skill. Do not rely on your camera and think that the camera will make the shots great, I have tens of thousands of dollars in camera gear that is very capable of taking terrible images. Consider enrolling in a community college course to ramp up your photo skills. The YouTube videos can only offer so much, and being in a classroom and having your work evaluated will be one of the biggest steps you will take to increase your skills in photography. There are many keys to a good photograph, the light, the composition, technical aspects, and post processing. With the rampant availability of great images online, if you fall down in any of these categories, you could end up with an image that will not sell well for you.

Don’t be discouraged

There is a market for every kind of art in the world. There IS a market for your boring vacation snapshot, you just need to find it. If you are looking to sell images of a car then join and get involved in a Facebook group dedicated to that car (I’m sure there are many) If you take the extra steps to make the designs interesting with some graphical or text additions then you might be able to find a great niche for Redbubble.

Conclusion

There you go, was it painful to hear that? I mentor people on print on demand and photography, and I am well aware that it can be devastating to hear that your work is not as good as your family is telling you it is. Did you learn something? Do you know someone else who is struggling to sell photography on Redbubble, Teespring Spreadshirt, Etsy or other platforms? Share this article with them and help me to continue to make this kind of content. Feel free to drop me a message here if you have any questions about this article.

Get out and get designing!

Get yours here: Canon RC-6 camera remote

If you are a Canon camera user like I am, and you want to take self portraits there are two ways, via your phone and the Canon app or the Canon RC-6 remote. Amazon does sell an alternative remote under their Amazon Basics label, but I have found that to be a bit finicky even though it is half the price. The Amazon Basics remote also does not work with every Canon camera the RC-6 does. So, is the RC-6 worth 20 dollars just to remotely trigger your camera? Short answer – yes!

Compatibility

I hope that with this review I can shed some light on the operation and compatibility of this unit. Many online reviews for this unit do not spend any time on the compatibility of the RC-6 remote, therefore you are left wondering if it will work with your model of camera before you buy. From the Canon official site, these are the camera bodies this unit will work with:

— EOS Rebel T7i Body Refurbished
— EOS 5D Mark IV Body with Canon Log
— EOS Rebel T3i Body Refurbished
— EOS 5DS Body
— EOS 80D EF-S 18-135mm f/3.5-5.6 IS USM Lens Kit
— EOS Rebel T2i EF-S 18-55mm IS II Lens Kit
— EOS 5DS R Body
— EOS Rebel T7i Body
— EOS 6D Body Refurbished
— EOS Rebel T7i EF-S 18-55mm f/4-5.6 IS STM Lens Kit
— EOS M100 EF-M 15-45mm f/3.5-6.3 IS STM Lens Kit Black
— EOS M100 EF-M 15-45mm f/3.5-6.3 IS STM & EF-M 55-200mm f/4.5-6.3 IS STM Bundle Black
— EOS Rebel SL1 with EF-S 18-55mm f/3.5-5.6 IS STM Lens Kit White Refurbished
— EOS 7D Mark II Body Wi-Fi Adapter Kit
— EOS M100 EF-M 15-45mm f/3.5-6.3 IS STM Lens Kit White
— EOS M6 Body Black
— EOS 7D Mark II EF-S 18-135mm f/3.5-5.6 IS USM Wi-Fi Adapter Lens Kit
— EOS 6D Mark II Body Refurbished
— EOS 5D Mark IV Body
— EOS 5D Mark IV EF 24-105mm f/4L IS II USM Lens Kit
— EOS M5 EF-M 18-150mm f/3.5-6.3 IS STM Lens Kit
— EOS 80D Body
— EOS Rebel T5i 18-135mm IS STM Lens Kit Refurbished
— EOS Rebel SL1 EF-S 18-55mm f/3.5-5.6 IS STM Lens Kit White
— EOS Rebel T5i 18-55mm IS STM Lens Kit Refurbished
— EOS Rebel T5i Body Refurbished
— EOS Rebel T7i EF-S 18-135mm f/3.5-5.6 IS STM Lens Kit
— EOS 77D Body
— EOS 77D EF-S 18-55mm f/4-5.6 IS STM Lens Kit
— EOS M6 EF-M 15-45mm f/3.5-6.3 IS STM Lens Kit Black
— EOS Rebel T7i Video Creator Kit
— EOS 77D EF-S 18-135mm f/3.5-5.6 IS USM Lens Kit
— EOS M6 EF-M 18-150mm f/3.5-6.3 IS STM Lens Kit Black
— EOS M6 Video Creator Kit
— EOS M6 EF-M 15-45mm f/3.5-6.3 & EF-M 55-200mm f/4.5-6.3 IS STM Bundle Black
— EOS 60D EF-S 18-135mm f/3.5-5.6 IS Lens Kit
— EOS 60D Body
— EOS M6 Body Silver
— EOS 5D Mark IV EF 24-70mm f/4L IS USM Lens Kit
— EOS 60D EF-S 18-200mm IS Lens Kit
— EOS M6 EF-M 15-45mm f/3.5-6.3 IS STM Lens Kit Silver
— EOS M5 EF-M 15-45mm f/3.5-6.3 IS STM Lens Kit
— EOS Rebel T2i Body Refurbished
— EOS M5 Body
— EOS Rebel T2i EF-S 18-55mm IS Lens Kit Refurbished
— EOS Rebel SL1 Body Refurbished
— EOS Rebel SL1 with EF-S 18-55mm f/3.5-5.6 IS STM Lens Kit Black Refurbished
— EOS 5DS R Body Refurbished
— EOS 5DS Body Refurbished
— Refurbished EOS Rebel T6s Body
— EOS M6 EF-M 18-150mm f/3.5-6.3 IS STM Lens Kit Silver
— EOS Rebel T5i Body
— EOS M6 EF-M 15-45mm f/3.5-6.3 & EF-M 55-200mm f/4.5-6.3 IS STM Bundle Silver
— EOS Rebel SL1 Body
— EOS 60Da Body
— EOS 5D Mark IV Body Refurbished
— EOS 5D Mark III Body
— EOS Rebel T4i 18-135mm IS STM Lens Kit Refurbished
— EOS 60Da Body Refurbished
— EOS Rebel T6s EF-S 18-135mm f/3.5-5.6 IS STM Kit Refurbished
— EOS Rebel T6i Body Refurbished
— EOS 5D Mark III EF 24-70mm f/4L IS USM Lens Kit
— EOS Rebel T6i EF-S 18-55mm f/3.5-5.6 IS STM Kit Refurbished
— EOS Rebel T6i EF-S 18-135mm f/3.5-5.6 IS STM Kit Refurbished
— EOS 6D Mark II Body
— EOS 70D EF-S 18-135mm IS STM Lens Kit Refurbished
— EOS 6D Mark II EF 24-105mm f/4L IS II USM Kit
— EOS 70D EF-S 18-55mm IS STM Lens Kit Refurbished
— EOS Rebel T5i 18-55mm f/3.5-5.6 IS STM Lens Kit
— EOS 6D Mark II EF 24-105mm F3.5-5.6 IS STM
— EOS Rebel T5i EF-S 18-135mm f/3.5-5.6 IS STM Lens Kit
— Refurbished EOS 70D Body
— EOS Rebel SL1 EF-S 18-55mm f/3.5-5.6 IS STM Lens Kit
— EOS 70D EF-S 18-55mm f/3.5-5.6 IS STM Lens Kit
— EOS Rebel T4i Body
— EOS Rebel T4i 18-55mm IS II Lens Kit Refurbished
— EOS 7D Mark II Body Refurbished
— EOS 70D EF-S 18-135mm f/3.5-5.6 IS STM Lens Kit
— EOS Rebel T3i Body
— EOS M3 Body Refurbished
— EOS M3 EF-M 18-55mm IS STM Kit Black Refurbished
— EOS 7D Mark II EF-S 18-135mm IS STM Lens Kit Refurbished
— EOS 6D Body
— EOS 6D EF 24-105mm f/4L IS USM Lens Kit
— EOS 7D EF-S 18-135mm IS Lens Kit
— EOS Rebel T3i EF-S 18-55mm f/3.5-5.6 IS II Lens Kit
— EOS 5D Mark III Body Refurbished
— EOS 5D Mark III EF 24-105mm f/4L IS USM Lens Kit
— EOS M3 EF-M 18-55mm IS STM Kit White Refurbished
— EOS Rebel T4i Body Refurbished
— EOS Rebel T2i EF-S 18-55mm IS II Lens Kit
— EOS 7D EF 28-135mm IS Lens Kit
— EOS Rebel T2i Body
— EOS 7D Body
— EOS M3 EF-M 18-55mm IS STM & EF-M 55-200mm STM Lens Kit Refurbished
— EOS 60D EF-S 18-135mm IS Lens Kit Refurbished
— EOS Rebel T1i Body Refurbished
— EOS 60D Body Refurbished
— EOS Rebel T3i Body
— EOS Rebel T7i EF-S 18-135 IS STM Kit Refurbished
— EOS Rebel T3i EF-S 18-55mm IS II Lens Kit Refurbished
— EOS Rebel T7i EF-S 18-55 IS STM Kit Refurbished

It is a huge list, and hopefully should clear up any compatibility concerns you might have. If your camera is on the list, you are good to go.

Operation

In your camera settings (not on the remote), for most models you have a timer option which can be set between 2 and ten seconds depending on the model of your camera body. I have the 7D mark II and the 5D Mark III and IV and they all have two and ten second timer settings. Set up your camera on a tripod pointing toward you and point the remote at the camera, press the button and the camera will focus and trigger the shutter. This is more for photographers wanting to be in the frame, or for photographers of kids who will be near their subject to coax a smile then press the shutter.  I personally like the single button operation.

Is the RC-6 better than the Canon app? The app gives you access to more of your camera’s operation, but sometimes all you need to do is trigger the shutter. With the app you have to connect to the camera via wi-fi or bluetooth (if your camera has wi-fi connectivity) and often you will lose connection. The RC-6 is simple one button operation. 

Bulb Mode

If you are into long exposure photography or light painting this is perfect, it works with the bulb mode. Set your camera on bulb mode then click once to open the shutter and a second time to close it – no need to touch your camera.

Conclusion

The top rated Canon RC-6 is a great little cheap and simple remote, which allows you to be in the frame of your shot or to trigger your camera for long exposures without jostling the camera around causing blur. I always have this remote in my bag since it is so small. I would order a second battery once your unit arrives so that you have one in your bag. I find that if I don’t use my remote for long periods of time the battery will die as you would expect. Happy Shooting!

 I love to hear from my readers! If you have questions about this or any review on this site, or If you have a product you would like us to review, drop me a message on Twitter or on the contact form here on the website. Have a great day!

Twitter: @EpicShit9


 Get yours here: Altura Photo Professional Rain Cover for Canon Nikon Sony DSLR Mirrorless Cameras

I ordered my Altura Photo Professional Rain Cover Protector for DSLR Cameras about a year ago and wanted to try it in several different conditions before writing this review. So far, I have used the cover in rain, snow, and blowing sand and it performed flawlessly keeping my camera dry and free of debris through the toughest downpour.  When I bought this camera cover, Amazon had it top rated and I can see why, it works very well.

A raincoat for your camera

I shoot with a Canon 5D mark IV, and often use the 70-200 f2,8 IS II with this rain cover. It is difficult to get too excited about a rain cover because it either does the job and keeps your camera dry or it does not. My camera(s) is/are weather sealed, but I use this rain cover out of an abundance of caution. My backup cameras are Canon 5d mark III and Canon 7D mark II, all my cameras fit perfectly (though snugly) in the Altura Photo Professional Rain Cover. I like the drawstrings for extra security over some of the cheaper alternative brands. When you are out in the elements, especially the wind you will appreciate the extra coverage the drawstrings provide. The armholes work well and are long enough to keep the camera from getting wet even in blowing rain. The clear back panel offers viewing of the camera screen and settings. I have read some other reviews that say this screen can discolor with age, but so far, I have not had any issues and I have shot in the elements a lot.   

The rain

I used the Altura Photo Professional Rain Cover on the deck of the cruise ship during our trip to Alaska. Between the salt spray and rain, I was certainly concerned about the camera staying dry (and especially free of salt) while I was up on deck. I shot for over an hour at a time and the camera made it through dry and working perfectly. The Altura Photo Professional Rain Cover is designed to protect and shield a small or professional DSLR camera and it certainly did the job well. I even had several people borrow it and use it on other smaller cameras when I was not using it. This little rain cover has had Sony, Nikon Fuji and everything else in it with no problems.

The snow

I was invited to shoot the winter games for the Special Olympics in Colorado, and the day of the event was not nice at all. With blowing snow, and an average temperature of 10 degrees, I decided to use the Altura Photo Professional Rain Cover to keep with camera free of melting snow. I think the cover helped to keep my hands a bit warmer than other times I have shot without a cover in blowing snow. The cover is made from high quality waterproof nylon, so it wasn’t insulating by any means, but the cover did seem to help maintain a bit of heat from my hands and make the long day shooting a bit more comfortable.

The sand dunes

The last harsh environment type I tried with the Altura Photo Professional Rain Cover was in the Great Sand Dunes in Colorado. I shot most of the afternoon and into the evening with blowing sand. There is nothing worse than getting sand in your lens or camera housing (well other than salt water of course). Maybe this cover was not intended for blowing sand as much as it was for rain, it did a great job. After the sunset, I walked back to the car and took the camera out of the cover and was pleasingly surprised that it was very free of sand and grit. I appreciated the cover protecting the top of my tripod as well. Now, if they only made one for the tripod legs so they didn’t get sand in them!

Conclusion

After a year with the Altura Photo Professional Rain Cover I can say I would happily recommend this to another photographer. The dual adjustable sleeves are great and have worked well with everyone who has used this cover. I also really like the protection from the full-length double zipper. The cover works well and provides access to camera controls whether hand holding or using a tripod. It is tough to get excited about a rain cover for your camera, but if I was going to, this would be the one to get excited about.

I love to hear from my readers! If you have questions about this or any review on this site, or If you have a product you would like us to review, drop me a message on Twitter or on the contact form here on the website. Have a great day!

Twitter: @EpicShit9


There are more videos and articles comparing battery powered flashes than you can shake a stick at. Anyone researching a portable lighting setup will undoubtably look at the strobe offerings from Profoto (B10, B1X) and Godox (AD200, AD600 etc.) but once you have that shiny new strobe unit, you are going to need to pony up for some light modifiers. The most cost-effective of the light modifiers (not counting DIY alternatives) are going to be umbrellas. How do these simple and easy to carry and setup modifiers stack up against the go-to big boy Profoto 36-inch octabox?

My goal in this comparison was to use a few different modifiers of similar size but vastly different costs to determine if the more expensive modifiers would yield superior results in terms of quality of light. For this (subjective and non-scientific) comparison, I used a Canon 5D MKIV and Profoto B10 in TTL mode, allowing the camera to set the proper exposure for an aperture value of f4, ISO 100 and shutter speed of 1/125. I approached this from a “real world” use scenario.  There were small differences in terms of loss of light between the three modifiers, but this experiment was not focused on efficiency of the modifiers, only the resulting quality of light. I kept the distances to the subject and the angle of the light generally the same. My model for this experiment was our tried and true crash test dummy Meghan the mannequin.

To find the candidates for the comparison, I hit Amazon and researched lower-cost modifiers from Neewer, Cowboy studio and others. I settled on Godox, because they have good customer support and are easy to find in stock. The modifiers I used were:


Godox 32″/ 80cm Umbrella Octagon Softbox Reflector


Godox 47″/120cm Umbrella Octagon Softbox Reflector


Profoto 254711 RFi 36-Inch Octa Softbox (Black)


Concerns when buying budget light modifiers

Build quality in budget light modifiers is nowhere near the more expensive models and will likely have a shorter lifespan than “pro level” gear. I would be worried about relying on a lower-cost modifier for an important shoot. These are umbrellas and we all know how prone those are to bending a rib inside, making them unusable.  The smaller Godox model in this experiment uses a standard umbrella architecture inside, and the larger Godox unit utilizes a combination of metal and plastic ribs. After reading all the reviews, some experienced issues after a few uses, but Godox was good about replacing broken units, this is why I chose them over other budget products from Neewer and Cowboy Studios.

Did I mention these budget modifiers break easily?


Technical concerns


Many low-cost modifiers, both umbrella and softbox come with front diffusion material. Many of the manufacturers use fabric whiteners to get the material ultra-white. This process can cause color shifts especially toward blue in your images. This can be resolved by using a product like the X-rite color checker passport, which is a plastic card combined with software which sets up a profile in your editing software for proper color. You just snap a photo of the passport and run it through the software, which automatically adjusts the colors to the proper hue.


The good stuff


  • Both of the Godox umbrellas were really a decent price. I got them on sale for 22 and 32 dollars.  If you are new to light modifiers and strobe work, these can be a good learning tool even if you end up buying a couple of them due to breakage.
  • The umbrella modifiers are easy to transport, and as long as your strobe has an umbrella hole (which most do), you are all set. Even if you get a Godox S-type bracket to use with a speedlight the weight and portability of your lighting kit will be worth it.
  • The umbrella softboxes are very easy to setup compared to a traditional rod and speedring softbox. They open like a regular umbrella and you put the pole inside into the hole in your flash or flash bracket. I know lots of beginning photographers (and some old grizzled ones too) that hate setting up the rods and speedrings of traditional softboxes so much that they just leave them up once they are assembled.
  • Both Godox units come with Velcro-attached front diffusion material. This is something that typically costs around $100 for higher-end modifiers. On a related note, you can buy the grids for the umbrella modifiers for about $20.


The results

Godox 32-inch umbrella
Godox 47-inch umbrella

Before we talk about how the Godox umbrellas stacked up against the Profoto Octabox, let’s look at how the 32-inch umbrella did when compared to the 47-inch. Was it worth the cost to get the larger unit? In short, no. There simply isn’t enough difference when looking at the images of Meghan from the 32 and the 47-inch units. Look at the shadows on the chin and nose, they are reasonably soft, but I expected more light wrap from the 47-inch unit compared to the 32. Both modifiers soften the light reasonably well, but I would likely use a second layer of diffusion if I were to use these for “real” images. The other aspect that surprised me about these modifiers was that there was little color shift from the front diffusion material. The small shift towards blue was easily rectified by warming the image a bit. I would do this in most cases with a portrait anyway.  Still, overall, I must admit that I was surprised these low-cost modifiers performed as well as they did.


Comparing Godox to Profoto

Profoto 36-inch Octabox

How did the Godox umbrellas compare to the industry standard Profoto 36-inch octabox using the same camera and strobe? Surprisingly, not too bad. Looking at the shadows on Meghan’s chin and nose, they are much softer and smoother than the ones from the Godox umbrellas. Also, look at the way the light is wrapping around her cheek on the left of the frame, much softer and smooth. IS this good enough for many photographers? Probably. For my work, I would still go with the Profoto softbox over the Godox units, but I plan to use the smaller Godox modifier for location shooting when weight is a concern. I have a 5-in-1 reflector that works great as a shoot through second diffuser.

Conclusion

For an entry-level modifier, the Godox umbrellas do surprisingly well. I worry about their build quality and only time will tell how long they will last with daily use. If you are just getting into strobes and looking to experiment with some reasonably priced modifiers that you can hone your skills with, these are great.  I’m not convinced that the 47-inch unit is worth the extra money and larger size (doesn’t fit in a suitcase), but honestly, these modifiers are a good deal.

As you grow as a photographer and the quality of your work evolves, you will likely grow out of these, but they are serviceable units for learning and most applications. These Godox umbrellas yield very reasonable results in terms of quality of light, and you don’t have to fuss with all the rods of setting up a traditional softbox.  


I love to hear from my readers! If you try these modifiers, please drop me a note and let me know what you think of them, I would love to hear your experiences and see some of your images with them. Follow me on Twitter for more reviews and have a great day.

Twitter: @epicshit9


Links to the products in this article:

Godox 32″/ 80cm Umbrella Octagon Softbox Reflector

Godox 47″/120cm Umbrella Octagon Softbox Reflector

Profoto 254711 RFi 36-Inch Octa Softbox (Black)

Godox S-type Bracket